A Flashback for Friday

28 Aug

Lately I’ve been reminiscing about my time during baking classes at the French Culinary institute in Manhattan, NYC (Now known as International Culinary Center (ICC)). I took 1 semester long class over a 12 week period every Saturday from 8am to 3pm. I learned more in those 12 weeks about baking then I could have imagined from tricks like:

  • Lemon juice prohibits apples from turning brown when you chop them
  • Best way to have room temperature eggs is to submerge them in warm water for 5 minutes rather than leave them out for hours

To key facts such as:

  • Gluten: Flour in contact with water – The more you work the dough the more gluten is released. When you overwork pastry it becomes bread because you’re releasing too much gluten into the dough.
  • One of the biggest differences in the types of flour is the amount of protein. Bread Flour has the most protein, then All-Purpose and Cake Flour has the least amount.
  • Emulsify – Combining 2 liquids that don’t combine easily – When you add an egg 1 at a time into the recipe like we did in the New York Crumb Cake
  • The greater the fat content in butter, the better the butter is (Go figure!). In the class we use butter with 82% fat

OLYMPUS DIGITAL CAMERA OLYMPUS DIGITAL CAMERA the-fundamental-techniques-of-classic-2986l1

Over the past year I have been more into cooking than baking, especially in preparation for my wedding in October, but lately I have re-found my passion for pastries, cakes, cookies and the like. Looking back over some of the photos and recipes from my Pastry Techniques book made me nostalgic towards a kitchen covered in flour, sugar and fondant

tart OLYMPUS DIGITAL CAMERA  palmiers

OLYMPUS DIGITAL CAMERA OLYMPUS DIGITAL CAMERA Napoleon

I’ve been ambitious lately in my thoughts for my next creation… Especially coming close to fall (I know, I know… I’m not ready for summer to be over yet either!) it is my favorite time to of year for pumpkin cupcakes and apple pies!

Get ready, Kristin’s Cravings is back at it!

Enjoy!

Everyone Needs a Little Fun!

25 Aug

Funfetti Cupcakes!

11950566_698409183628202_1109319083_n

What better excuse to bake than a BIRTHDAY! Somehow I think I missed the funfetti train growing up. Either that, or I was so consumed with eating all of the chocolate around me, that I shooed away anything “not chocolate”. Well, that was a fail on my part. I have recently discovered how fantastic this flavor really is as my wedding planning adventures have taken off this year. My fiance, Rob and I recently took part in our wedding cake tasting, which in my opinion, is the best part of the wedding planning! We are using Madison Lee’s Cakes as our baker and they have made the whole process very fun! We tasted 3 flavors:

  1. Almond sponge cake with mocha buttercream and chocolate ganache filling
  2. Rich chocolate cake with high quality chocolate ganache filling
  3. Funfetti: Sweet white cake with colorful bits throughout and buttercream filling

Being the chocolate lover I truly am at heart, Rob and I chose chocolate and funfetti for our flavors!

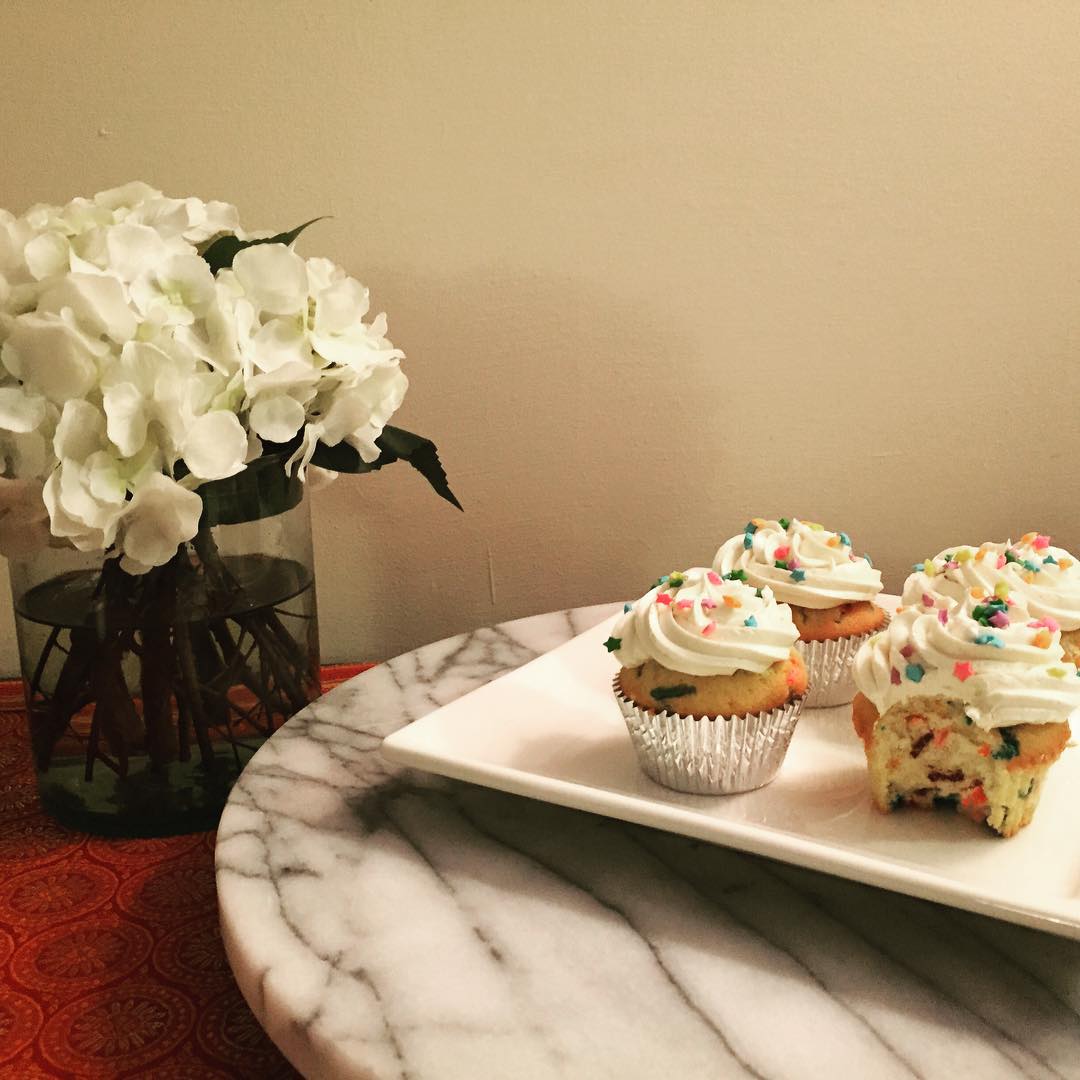
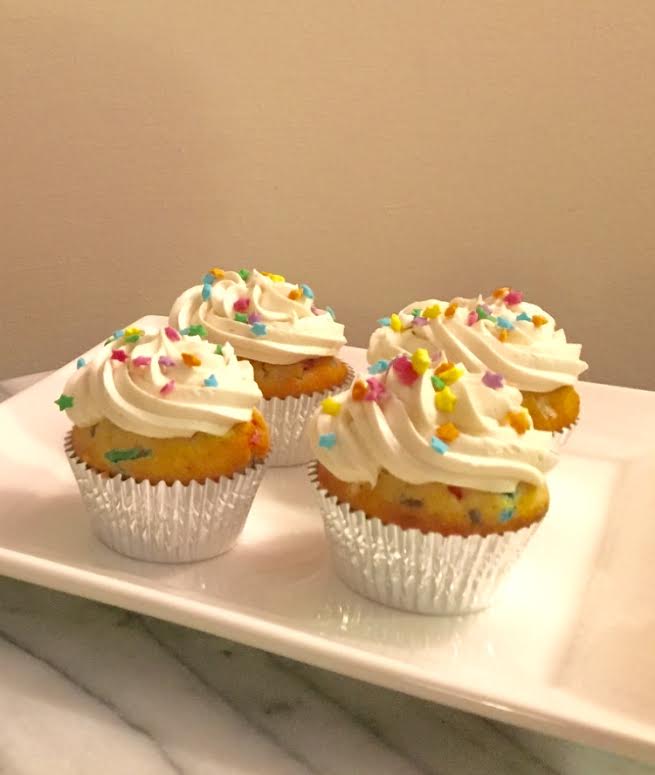
To make a long story short… I was talking with some coworkers about our picks and one in-particular professed his love for funfetti and it just so happened his birthday was the following week. Funfetti Birthday Cupcakes it is!!

For my first attempt, they turned out festive and fantastic! To quote my coworker, John: “that’s the best cupcake ever” and they were totally easy to make at home from scratch, no box necessary!

Cupcakes

One of my go-to blogs for anything “sweet, savory, sinful” is Brown Eyed Baker which is where I found this delicious recipe:

FUNFETTI CUPCAKES (FROM SCRATCH!)

  • Yield: 24 Cupcakes
  • Prep Time: 20 Minutes
  • Cook Time: 15 – 20 Minutes
  • Total Time: 1 Hour

A homemade version of funfetti cupcakes – buttery vanilla cupcakes loaded with sprinkles and topped with vanilla buttercream frosting

Ingredients
Vanilla Cupcakes
1 3/4 Cups of Cake Flour (2 Tbsp of Cornstarch for every 1 cup of All-Purpose Flour)
1 1/4 Cups of All-Purpose Flour
1 3/4 Cups of Granulated Sugar
2 1/2 Teaspoons of Baking Powder
1 Teaspoon of Kosher Salt
1 Cup of Unsalted Butter, at room temperature, cut into 1/2-inch cubes
4 Eggs
1 Cup of Whole Milk
2 Teaspoons of Vanilla Extract
1/2 Cup of Rainbow Sprinkles (or more depending on flavor preference)

Vanilla Buttercream Frosting
2 Cups of Unsalted Butter, at room temperature
5 Cups of Powdered Sugar
2 Tablespoons of Vanilla Extract
Funfetti or Rainbow Sprinkles, for decorating

cupcakes1

Directions
Make The Cupcakes:
1. Preheat the oven to 350 degrees F. Grease and line two cupcake trays (each with 12 slots) with paper lines and set aside.

2. In the bowl of a standing mixer, sift and add both flours, sugar, baking powder and salt. Mix together on low speed for 1 minute. With the mixer on low, add the butter cubes, a few at a time, continue until all the butter has been added and the mixture resembles coarse sand.

3. Keeping the mixer on low speed, add the eggs, one at a time, scraping down the sides of the bowl between additions (make sure to get the bottom of the bowl as well!). Slowly pour in the milk and vanilla and mix until combined. Increase the mixer speed to medium and beat for 2 minutes, until the batter is smooth. Scrape the sides of the bowl as needed to ensure all has bee incorporated. Using a rubber spatula, gently fold in the sprinkles.

4. Fill the liners two-thirds full (about 1/4 cup of batter) and bake for 15-20 minutes, until the centers are set and a toothpick inserted into the center comes out clean. Let the cupcakes cool in the pan for 10 minutes, then remove them and place them on a wire rack to cool completely before frosting.

Make The Frosting:
1.  Using the wire whisk attachment of your standing mixer, whip the butter on medium-high speed for 5 minutes, stopping to scrape down the bowl once or twice.

2. Reduce the speed to low and gradually add in the powdered sugar. Once all of the powdered sugar is incorporated, increase the speed to medium-high and add in the vanilla, mixing until incorporated.

3. Whip at medium-high speed until light and fluffy, about 2 minutes, scraping the bowl as needed.

4. Frost the cupcakes as desired and garnish with additional sprinkles. The cupcakes can be stored in an airtight container at room temperature for up to 3 days.

ENJOY!
Kristin

Banana Nut Muffins

28 Sep

I know… It’s been way too long since you’ve seen a Kristin’s Cravings post. Let’s chalk it up to a summer full of beaches, concerts, casinos, comedy shows, ferry rides, NYC adventures, a trip to Napa and a new boyfriend who doesn’t like desserts (Crazy, I know!! ha, sorry Rob!)

I have to give the boyfriend credit though, through constant begging and nagging I’ve made him some banana nut muffins. It’s also the start of the fall season which is my favorite season to bake because of all the flavorful spices like cinnamon and nutmeg that are used and of course the cooler weather to make my NYC apartment bearable!

Image

This is a very simple recipe and total time to prep and bake should be around 30 – 40 minutes depending on how fast you work.


What You’ll Need:

  • 2 Cups of All-Purpose Flour
  • 1.5 Tsp of Baking Soda
  • 1/2 Tsp of Salt
  • 4 Overripe Bananas (I used some that were slightly ripe and they worked just the same)
  • 1/2 Cup of Light Brown Sugar
  • 1/2 Cup of Dark Brown Sugar
  • 1/2 Tsp of Cinnamon
  • 1 & 1/2 sticks (3/4 Cups) unsalted butter, Softened
  • 2 room temperature Eggs
  • 1/2 Cup of Pecans, Chopped

Directions

Preheat the oven to 375 degrees F and butter 2 muffin tins. Be generous, the last think you want is parts of the muffins stuck inside the pan! Make sure to also butter the top of the pan so that the portion that folds over the top doesn’t get stuck either.

Use a sharp knife and chop the the Pecans; set aside

Mash 2 of the bananas with a fork in a small bowl so they still have a bit of texture; set aside.

In a medium sized bowl, sift the flour, baking soda, salt and cinnamon; set aside.

With an electric mixture fitted with the paddle attachment, cream the butter and sugars together until smooth.

Switch to the whisk attachment and whit the remaining bananas into the mixture for a good 3 minutes. Put the machine on a higher level and make sure the batter becomes smooth. Add int he eggs and vanilla. It make look pretty wattery, but it’s OK. Once the dry ingredients are added it will start to firm up.

Switch back to the paddle attachment and miss in the dry ingredients in thirds until just incorporated. Take the bowl off the mixer and using the rubber spatula scrape down the sides of the bowl and make sure the flour at the bottom of the bowl is incorporated.

Fold in the nuts and the mashed bananas with a rubber spatula that you set aside earlier.

Spoon the batter (I use an ice cream scoop) into the muffin tins and fill them about 3/4th of the way and give them a tap on the counter to get out any air bubbles.

Bake for about 20 minutes, rotating halfway, until a toothpick inserted comes out clean. Let cool for a few minutes before devouring!

Be careful, these little guys are addicting!! I made about 2 dozen and they were gone in a day! Luckily I have quite a few people to take them off my hands!

Enjoy!

Design a site like this with WordPress.com
Get started