

Growing up, Thanksgiving was by far my favorite holiday. It was the one BIG holiday where my whole family got together, ate a feast, napped, watched football and played our annual Monopoly game! Just to put a picture with the description, see my Happy Thanksgiving post from 2011. You can only imagine how it’s grown since then. Anyway, every year my dad was in charge of carving the Turkey! It was, in my mind, one of the biggest parts of the day! All the kids, including myself in the front row, and the dogs circled around for a sneak peak and taste of the crispy skin. Since then, it’s always been a bucket list thing to do. While this isn’t a turkey (yet), with my new roasting pan (thanks Nana!) that I received at my Bridal Shower, below is a step by step on the carving process
 My recent adventures in roasting a whole chicken led me to learning how to carve the whole chicken! I’ve always enjoyed baking, but cooking is something I’ve gotten passionate about in the past couple years. This was my first go at it, and I have to say, it was easier than anticipated! So, for anyone that’s too shy to take the plunge, as long has you have sharp knives at your side, you can’t go wrong!
Step 1:
Place your roasted bird on a carving board, breast side up, and allow to rest for 5 minutes. While the bird is resting, collect your tools:
- Well-sharpened knife
- Carving fork
- Platter or Serving Plates

Step 2: Remove the Thigh
Loosen the legs by cutting the skin between the thigh and the breast with the tip of your knife. Pull the thighs away from teh breast (one at a time) down toward the cutting board. Find the joints where the thighbone attaches to the carcass and cut strait down to remove the whole leg. You can feel where the joints come together as you apply pressure on the knife. Repeat with the other leg.

Step 3: Remove the Leg
Place the legs skin side down on the cutting board and find the joint that connects the thigh to the drumstick. Cut strait down on the joint and place those pieces on your serving platter. Repeat with the second leg.
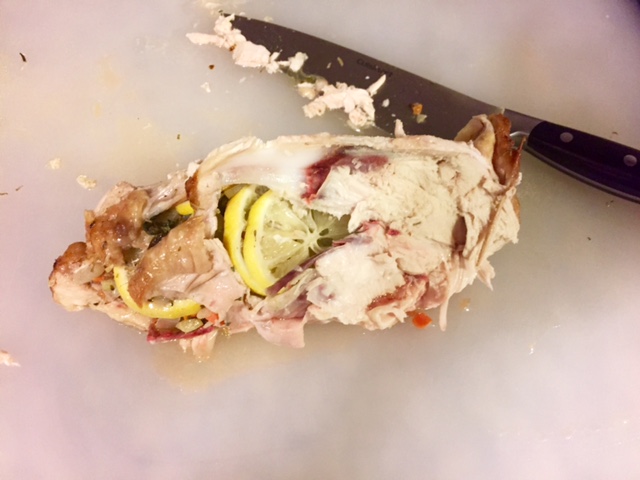
Step 4: Remove the Breasts
Cut down on the breast bone until you feel the resistance of the cartilage beneath. Using the cartilage as your guide, run your knife down either side of the bird until the breast is separated. Do the same with the alternate side. For your first time, you will most likely leave some meat behind. It take some practice, but look at it this way: those are great taste testing pieces! You can now dispose of the carcass or simmer it to make your own chicken stock.
Step 5: Remove the Wings
Place the breast on the cutting board, skin side up, and pull the wings outward. Cut down at the second joint to disconnect the wing from the breast.
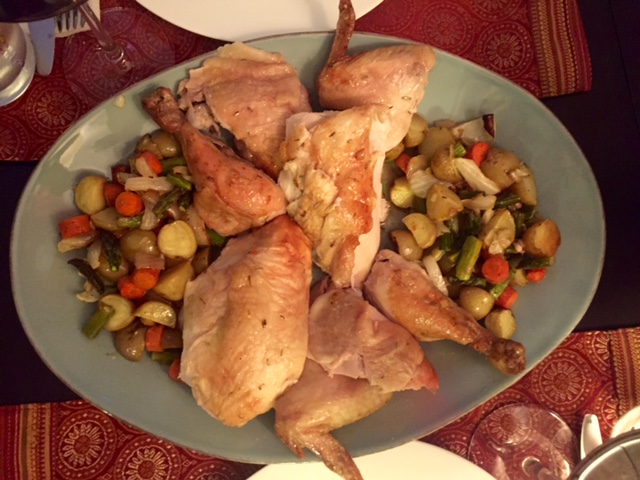
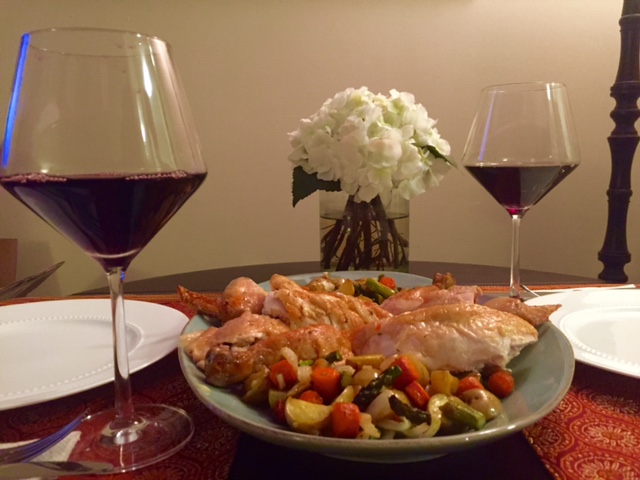
To Display: Get Creative and have fun!!
Just in time for Thanksgiving! Can’t wait to carve my first turkey!
-Kristin


